
Setting up your camera for more efficient focusing
In our latest concise guide we look at how separating focus and shutter release functions could help improve your safari photography.
If you’re not already using back button focus, then separating the focus and shutter release functions on your camera could be one of the easiest ways you’ll find to quickly improve your photography. The vast majority of professional wildlife photographers use back button focus, but it doesn’t suit everyone. Read our tips and give it a try to see if it’s for you.
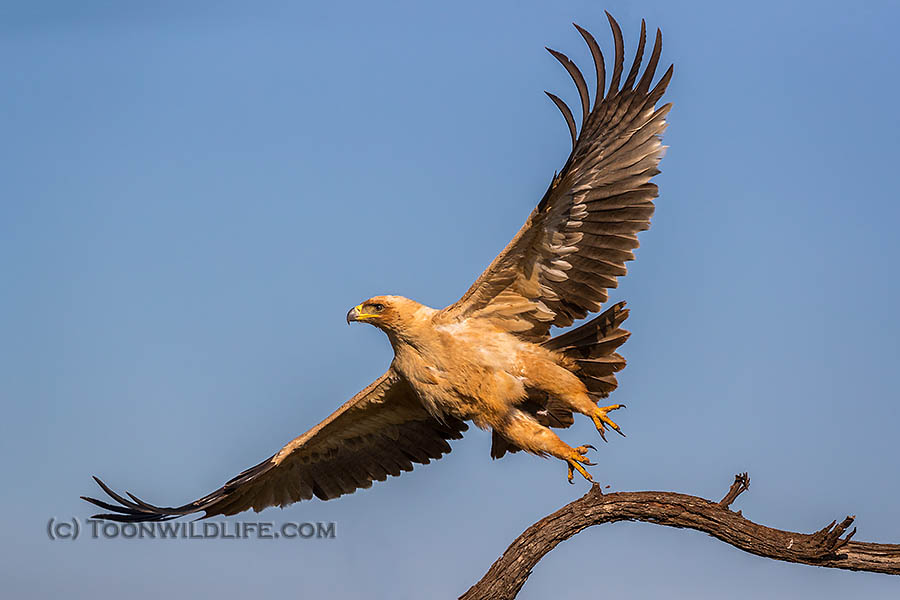
Canon EOS 1DX II, EF100-400mm lens at 330mm, 1/5000 sec, f/8, ISO 800
Ann says: With shutter button focus you kind of have to commit to either a ‘bird on a stick’ portrait in single focus mode, or a flight shot in continuous focus mode. You won’t generally have time to switch from one to the other as the bird takes off. With back button focus you can focus on a perched bird’s eye, release the back button to recompose your portrait for multiple different compositions, and you’re ready for instant autofocus tracking by pressing the back button again the moment the bird takes off.
Our top tips for back button focusing
- We’re all familiar with half pressing the shutter release button to focus, then full pressing to take the picture. That’s the default setting on new cameras out of the box. Back button focus is a camera setting that separates the two functions, so the shutter release button does just that (half pressing it has no effect), and the autofocus function is carried out by a different button – on the back of the camera.
- With back button focus you use your index finger to release the shutter and your thumb to focus – usually with the AF-ON button (or the exposure lock button). It’s easy once you get the hang of it, but it does take a bit of practice to retrain your brain and fingers.
- Please, please, please, DO NOT start back button focusing for the first time when on safari! You will miss shots because you forget to focus. Practice before you travel on subjects like kids, pets, vehicles – anything that moves, stops, moves – until it becomes second nature, only then use it on unrepeatable wildlife opportunities.
- Back button focus won’t make your lens sharper – a soft lens is a soft lens – nor make your camera autofocus faster or more accurately. But it will allow you to focus more efficiently, by removing the need to keep switching between single focus and continuous focus modes, saving you precious time at crucial opportunities and making you less likely to miss the decisive moment.
- Once you’ve set up your chosen back button for focusing (see below) you need to put your camera into continuous autofocus mode. Now, when you press the button with your thumb, the camera will focus, and continue refocusing as long as you press the button. But as soon as you release the button, it will lock focus.
- Imagine a lion walking towards you. You autofocus continuously with your thumb, taking shots with your index finger. If the lion stops, you can focus on the cat’s eyes, release the focus button to lock focus, and then recompose the image as you see fit, knowing that the eyes will stay in focus, even if you place them away from whatever focus points you were using. If the lion suddenly gets up and walks again, you simply press again with your thumb to instantly resume autofocus tracking.
- Back button focus is great for all those ‘bird on a stick’ type scenarios, where you want to compose portraits of a static subject, but be instantly ready to track the subject if it suddenly takes flight.
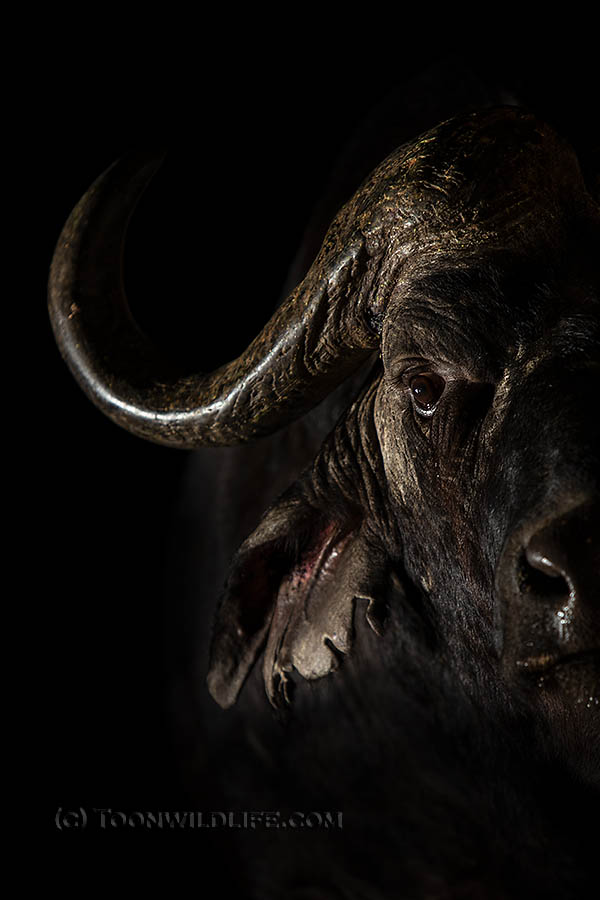
Cape buffalo at night, Zimanga
Canon EOS 1DX, EF70-200mm lens at 200mm, 1/40 sec, f/4, ISO 1600
Steve says: You can over-ride autofocus by manually adjusting the lens focus ring, without worrying that the moment you press the shutter release button the camera may refocus on the wrong place. This is especially useful in a Zimanga night hide working with the camera on a tripod. Recomposing for momentary poses takes long enough, without the added time cost of switching focus points for an off-centre eye.
- DSLRs and mirrorless cameras are constantly improving their autofocus capabilities, with more numerous and more accurate focus points. But it remains the case that the central points are the most sensitive and accurate. So, like us, many photographers prefer to routinely select central focus points – a single point or a small array – for most situations. Back button focus lends itself to this, allowing us to instantly switch between locked and unlocked focus when recomposing.
- You may still need to shift focus points off centre – for example, you if want to position your walking lion to one side of the frame. But we’d still advocate using a small array of off-centre focus points, giving you more control over where you are focusing than using a wide matrix of points and leaving it to the camera to decide.
- Back button focus can help reduce focusing errors where your subject is periodically obscured – for example, when you are picking out one impala among a herd. You simply release the back button when another animal walks into frame, wait for it to pass, then press again and your original focus on the main subject will still be there. This is a big plus in low light when autofocus can struggle to reacquire a subject.
- You can easily override autofocus on most lenses by manually turning the focus ring and with back button focus you don’t have to switch the lens to manual focus. Suppose your walking lion lays down in long grass and you want to capture an image of its eyes peering through the grass. Autofocus is unlikely to work well because of the obscuring grass. So you simply release the back button, and turn the manual focus ring to focus. There’s no danger of losing focus when you press the shutter release and you’re ready to resume autofocus the moment the animal stands up.
- This ability to easily make and retain small focus adjustments manually can be useful for macro work – back button focus isn’t only good for action.
- It’s this ability to essentially combine manual, single and continuous focus modes that makes back button focus so versatile for wildlife photographers. If you’re ready to give it a go, consult your camera manual to see how to reprogram the necessary buttons using custom functions. It isn’t difficult, you just want to switch off focusing on the shutter button and make sure autofocus is enabled on the back button you wish to use. High end cameras will usually have a dedicated AF-ON button, which is perfect. If your model doesn’t, you can use the exposure lock button.
- As cameras continue to develop it’s quite possible that back button focus will no longer be so advantageous. Ever-improving accuracy of wide array focus points, and sophisticated tracking options such as the ability to detect and follow animal eyes, may soon remove the need to focus and recompose in many situations. That thumb you use for back button focus may be better employed finessing focus point selection using smart controllers or touch screens. But for now, for us, there’s a clear advantage in the technique, and we’d urge you to give it a try.
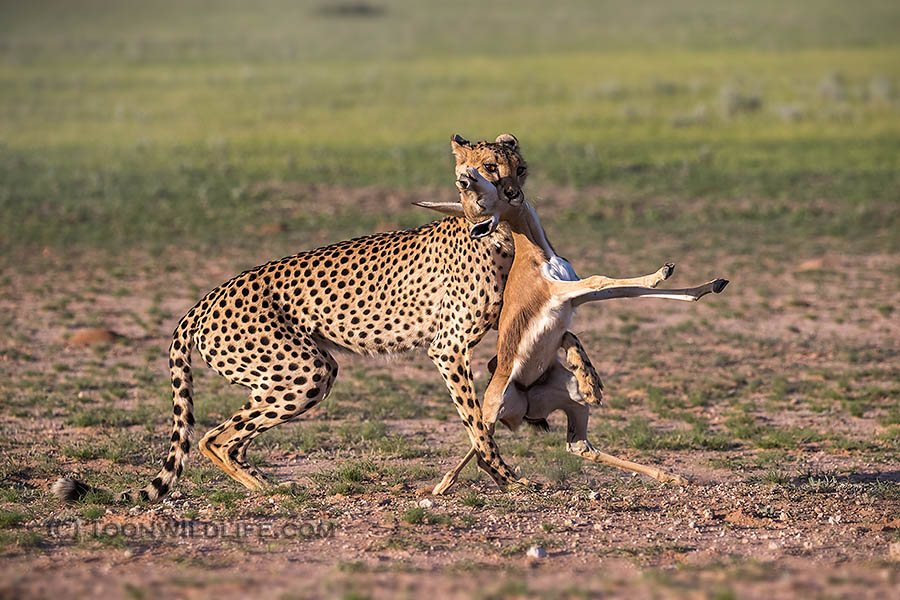
Cheetah with springbok kill, Kgalagadi, South Africa
When the stationary cheetah you’re photographing suddenly charges a springbok, you don’t want to be wasting precious seconds changing from single focus to continuous focus mode.
Canon EOS 1DX II, EF100-400mm lens at 234mm, 1/6400 sec, f/6.3, ISO 400


Leave a Comment